How to send transactional emails with Gmail and Google Workspace
Gmail and Google Workspace both support sending transactional emails through their SMTP servers. This makes them a practical starting point for developers who need to send password resets, order confirmations, or verification emails from their applications - without subscribing to a dedicated email service.
This guide covers the full setup: configuring your Google account, writing the code in Node.js and Python, and understanding the limits so you know when Gmail is enough and when it’s time to upgrade.
Free Gmail vs Google Workspace
Before you start, it helps to understand which Google account type fits your use case. The sending limits and features differ significantly.
| Free Gmail | Google Workspace | |
|---|---|---|
| Daily sending limit | 500 emails | 2,000 emails |
| SMTP sending limit | 100 emails/day | 2,000 emails/day |
| Recipients per SMTP message | 100 | 100 |
| Custom domain support | No (sends from @gmail.com) | Yes (sends from your domain) |
| App Passwords | Yes (with 2FA enabled) | Yes (with 2FA enabled) |
| Price | Free | From $7/user/month |
Free Gmail works well for personal projects, side projects, or early-stage apps where you send fewer than 100 emails per day via SMTP. The main drawback is that emails come from an @gmail.com address, which looks less professional.
Google Workspace is the better choice for businesses. You can send from your own domain (e.g., [email protected]), get higher sending limits, and benefit from Google’s deliverability reputation. If you already use Google Workspace for your company email, you can send transactional emails through the same infrastructure at no extra cost.
Both options use the same SMTP setup process described below.
Gmail SMTP settings
Here are the SMTP connection parameters you need for Gmail. These are the same for both free Gmail and Google Workspace accounts.
| Setting | Value |
|---|---|
| SMTP server | smtp.gmail.com |
| Port (STARTTLS) | 587 |
| Port (SSL/TLS) | 465 |
| Authentication | App Password (see below) |
| Username | Your full Gmail or Workspace email address |
| Encryption | Required (TLS or SSL) |
Port 587 with STARTTLS is the recommended option. Port 465 with implicit TLS also works. Gmail does not accept unencrypted connections on port 25.
Preparing your Gmail account
There are only a few steps required to send emails programmatically through Gmail:
- Enable 2-Step Verification
- Generate an App Password
Why App Passwords?
Google removed the “Less Secure Apps” setting in September 2024. You can no longer authenticate to Gmail’s SMTP server using your regular Gmail password. Instead, you generate an App Password - a 16-character password specifically for SMTP access. This keeps your main Google account password safe and lets you revoke SMTP access independently.
Enable 2-Step Verification
Google requires 2-Step Verification (2FA) before you can generate App Passwords. If you already have it enabled, skip to the next section.
- Log in to Gmail and click on your avatar in the top right corner.
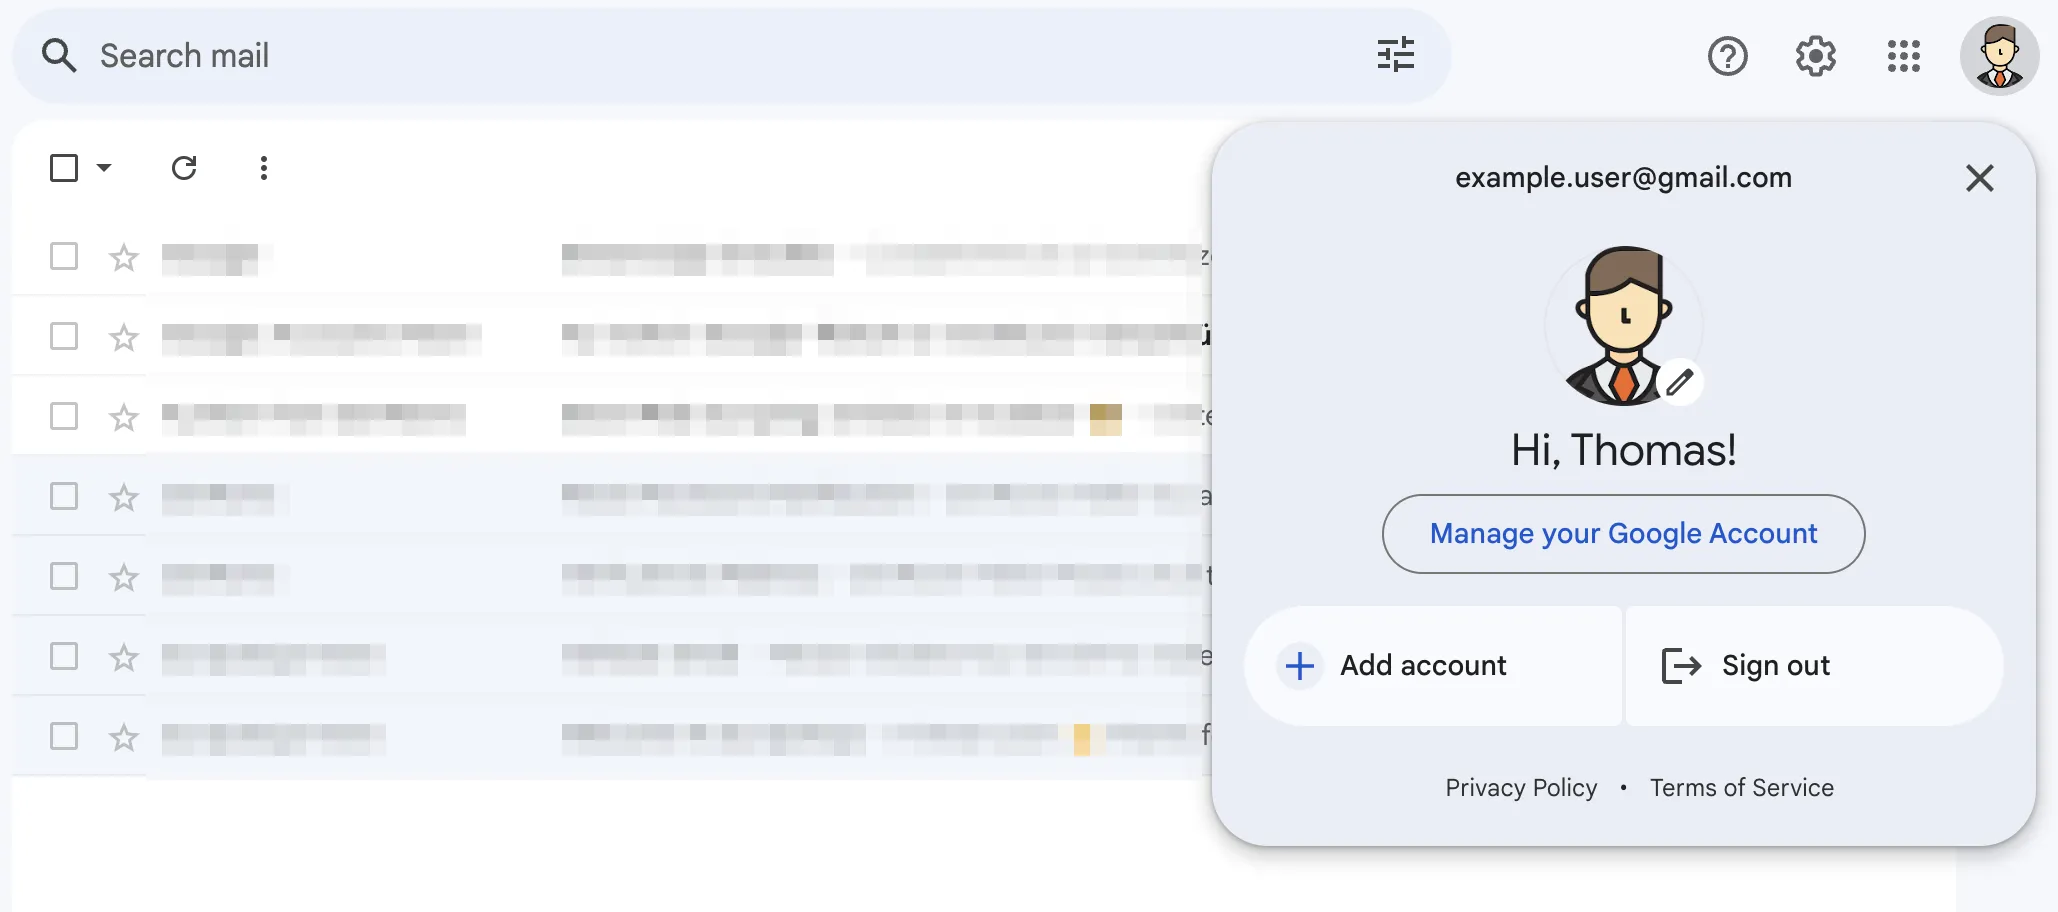
- Choose Manage your Google Account
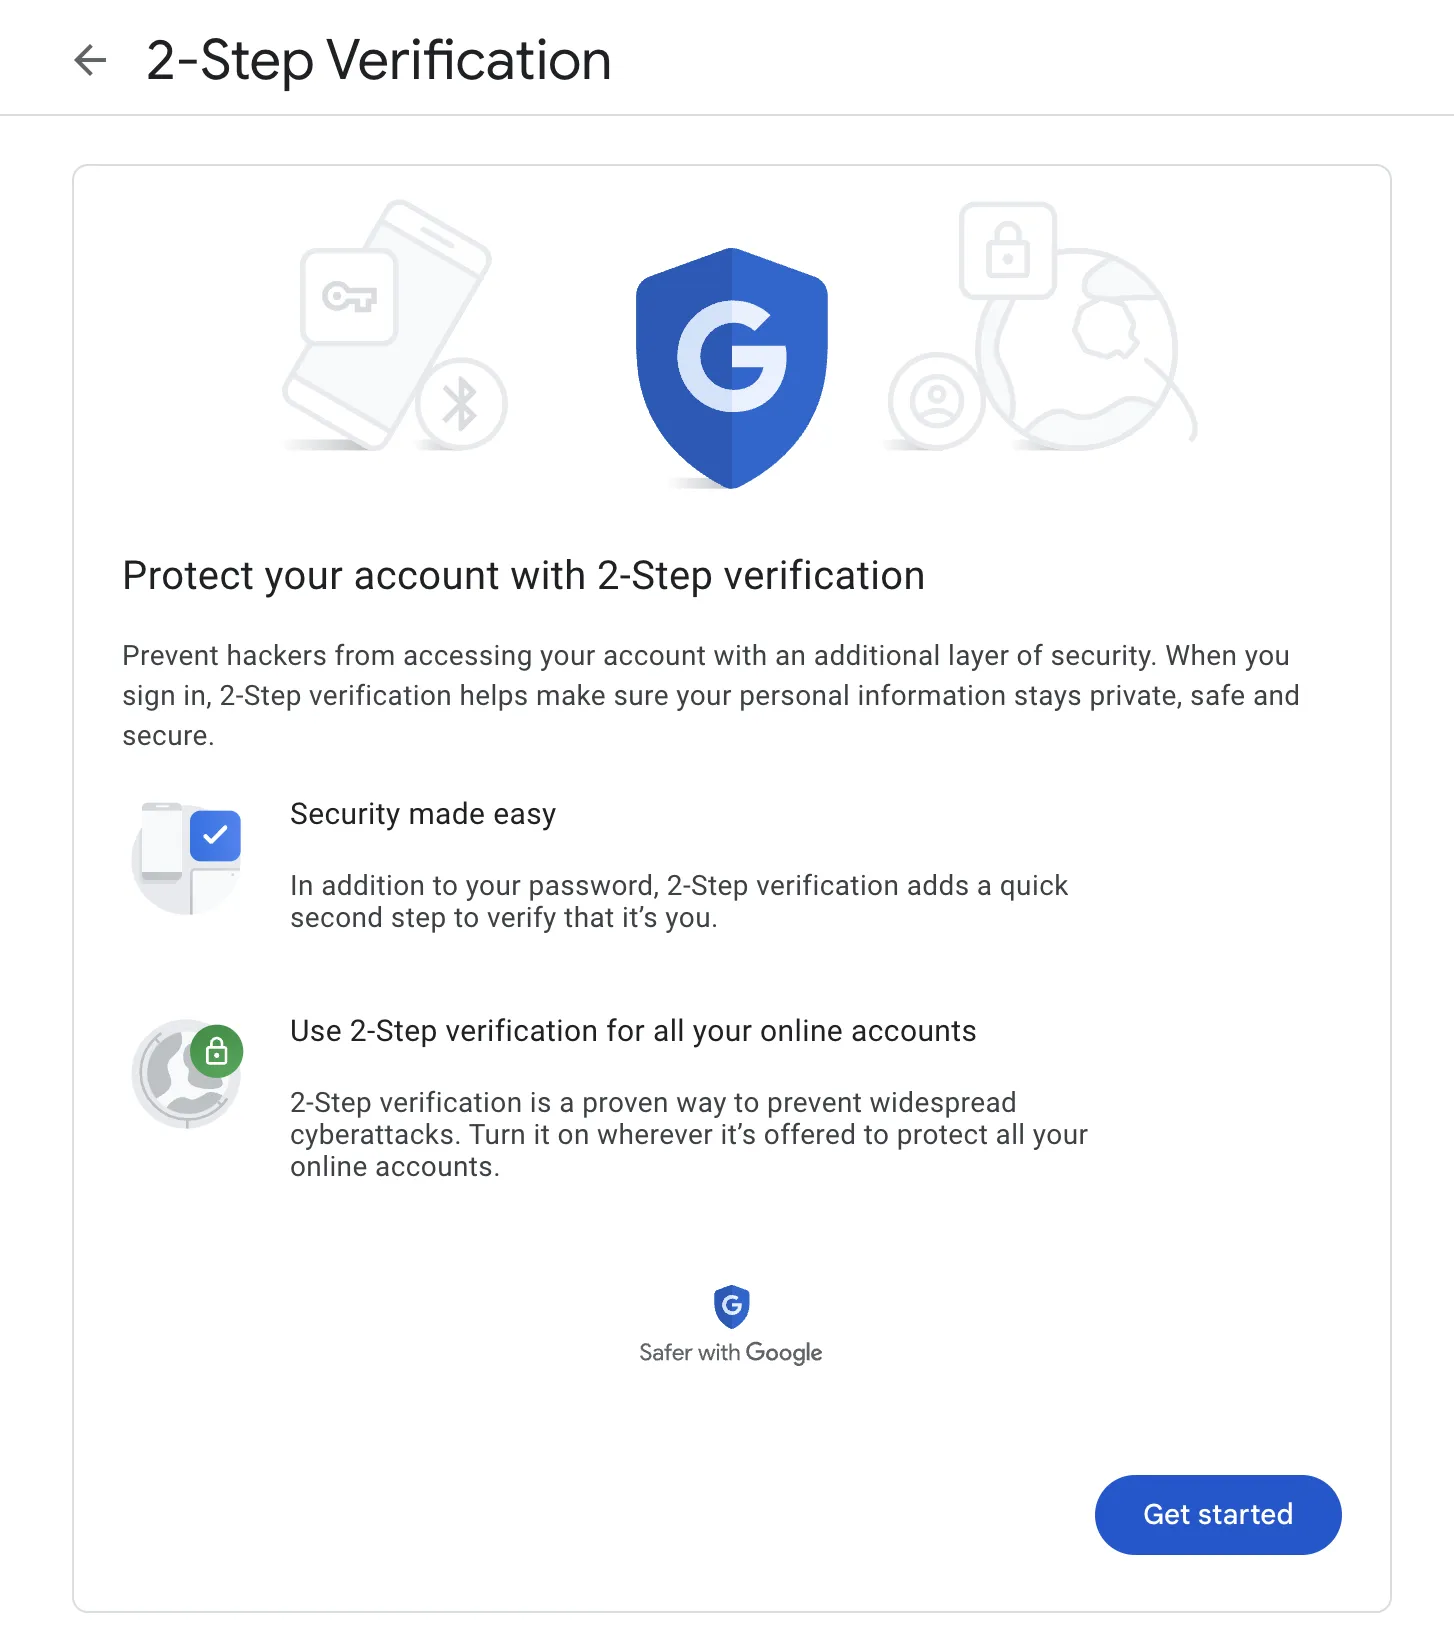
- In the new tab, click on Security in the left menu.
- Find and click on the 2-Step Verification button in the middle of the page.

- Follow the setup wizard. You can opt for the text message method or use an authenticator app like Google’s for Android or Apple devices.
Generate an App Password
- Similarly to enabling 2-Step Verification, log in to Gmail (if you haven’t already) and click on your avatar in the top right corner.
- Choose Manage your Google Account
- In the new tab, click on Security in the left menu.
- Find and click on the 2-Step Verification button in the middle of the page.

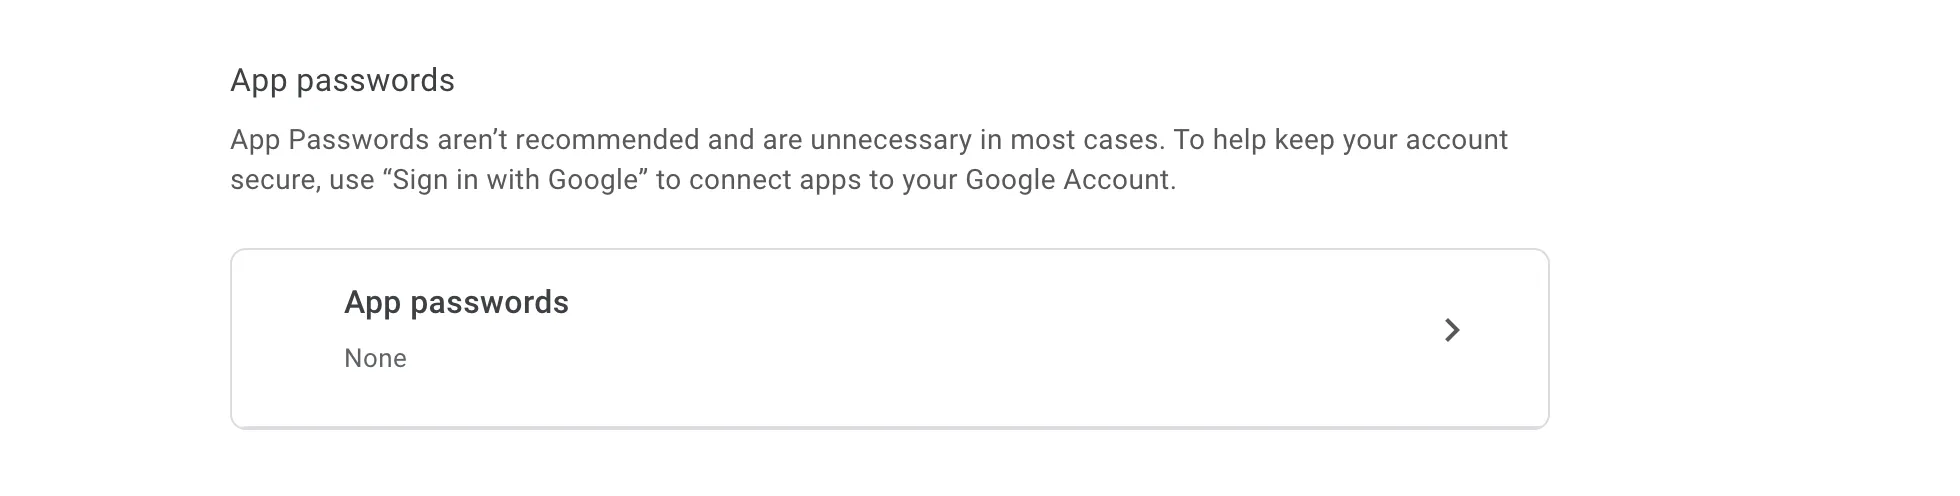
- Scroll to the bottom of the page and click the right arrow in the App passwords box.
- Type a name for the password that you will generate. We used “SMTP access” in our example, but you can also give it any other name that will help you identify the password later (e.g., when you want to revoke or regenerate it).
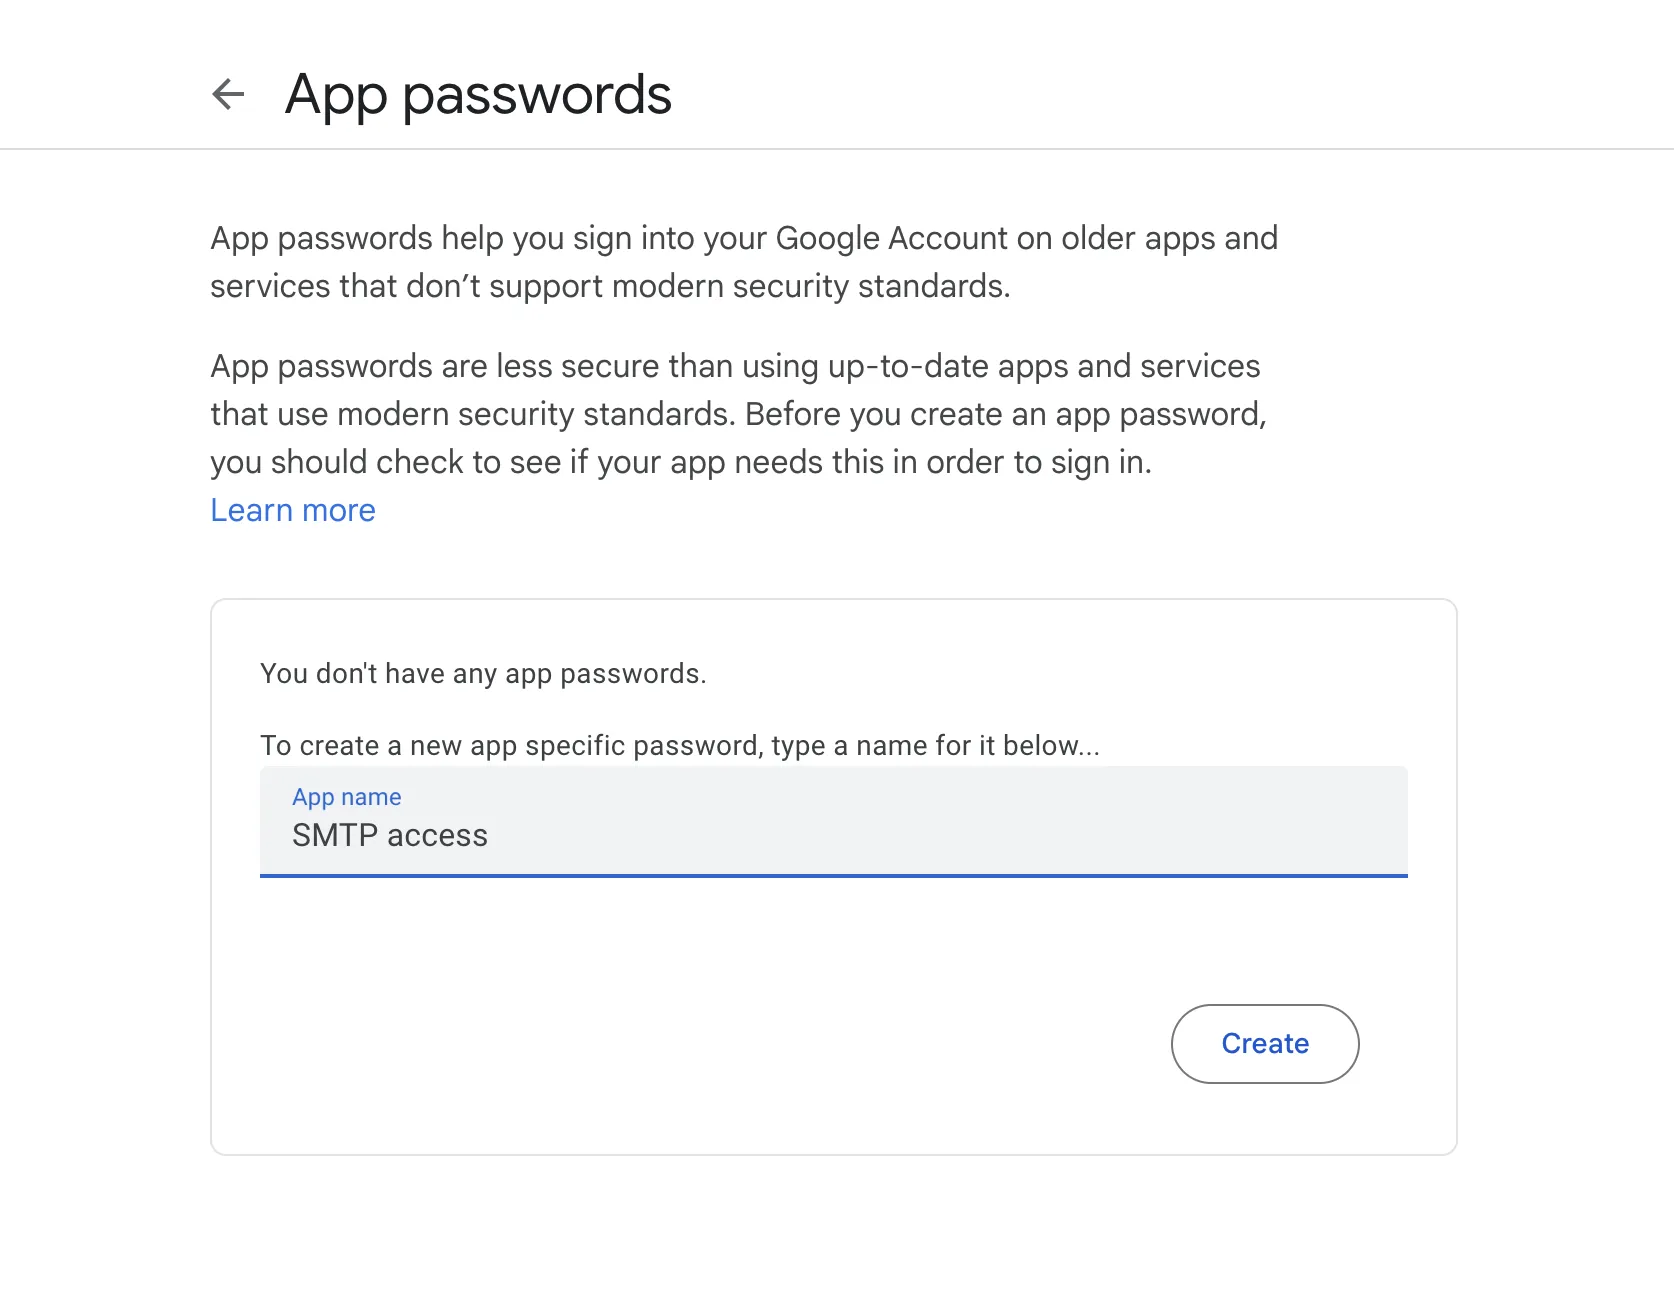
- Click Create and make a note of the generated password immediately because you will not see it again.
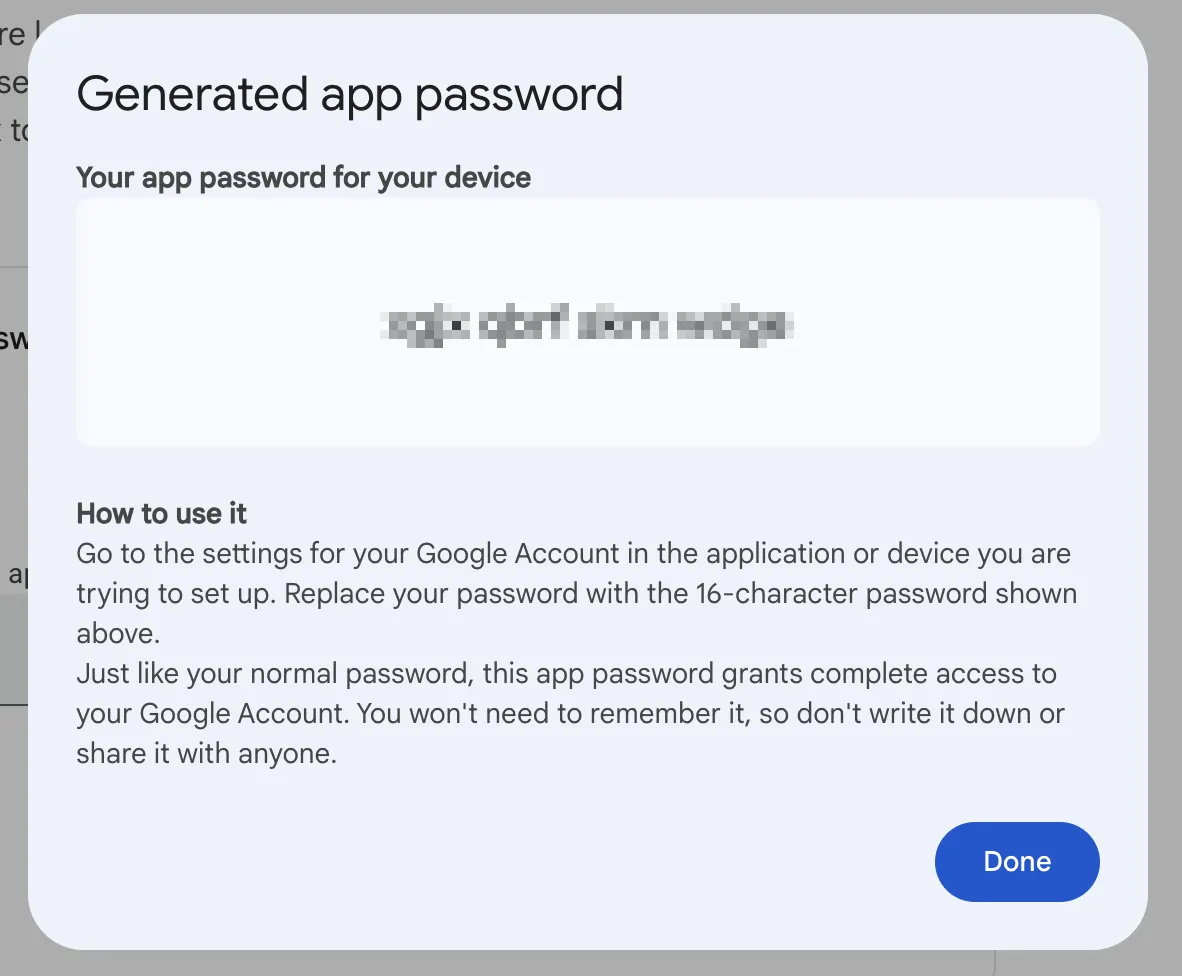
- Click Done, and you’re all set!
Sending an email programmatically
We’ll implement some example code in this guide using Node.js and Python, but the basics are very similar with both languages:
- Find a suitable SDK that implements the SMTP protocol (you really don’t want to mess with raw SMTP commands over a TCP connection).
- Initialize the SDK with the SMTP parameters and your Gmail credentials:
- SMTP server: smtp.gmail.com
- Port: 587
- Username: your full Gmail address
- Password: the App Password you just generated
- Send your predefined email content to the desired recipients.
The Node.js example
In Node.js, we’ll use the well-known Nodemailer library. This is a powerful email toolkit that supports more features than we need here, such as email attachments, DKIM, proxies, or OAuth. However, we’ll only be using a small subset of its features.
Let’s install the library:
npm install --save nodemailer
Initialize the library with the parameters and credentials we acquired previously:
const nodemailer = require('nodemailer');

// Create a transporter object to interact with the SMTP server
let transporter = nodemailer.createTransport({
  host: 'smtp.gmail.com',
  port: 587,
  // Don't worry, it will be secure using TLS
  secure: false,
  auth: {
    // Your full Gmail email address
    user: '[email protected]',
    // The 16 character App password you generated, without spaces
    pass: 'abcdefghijklmnop',
  }
});
At this point, we’ve constructed a transporter object that is ready to send emails. Let’s proceed to do so. We need to define an email object that we’ll pass to the sendMail function of the transporter. In our example, this email object will contain the most commonly used parameters. For more information, you can refer to Nodemailer’s documentation on the same function.
const message = {
  // You need to use your email address, as Gmail doesn't allow sending from anything else
  from: '[email protected]',
  to: '[email protected]',
  subject: 'Nodemailer test',
  text: 'Hello from Nodemailer, this is a test email',
  html: '<h1>Hello from Nodemailer</h1><p>This is a test email</p>'
};
Please note that we’ve defined two different content formats for the email. The text field provides a clear-text representation of our message, which is used by clients that don’t support rich-text format emails or when a simplified preview is needed. The html field contains a rich-text format using HTML, allowing you to give more structure and formatting to your content.
Please also note that we used the same “from” email address for which we generated the App Password. This is a must, as you can only send emails through Gmail on your behalf.
Now simply pass it to the sendMail function and log any potential results or errors:
transporter.sendMail(message).then(info => {
  console.log(info);
  // Optionally you may want to focus on info.response to check for success
}, error => {
  console.log(error);
});
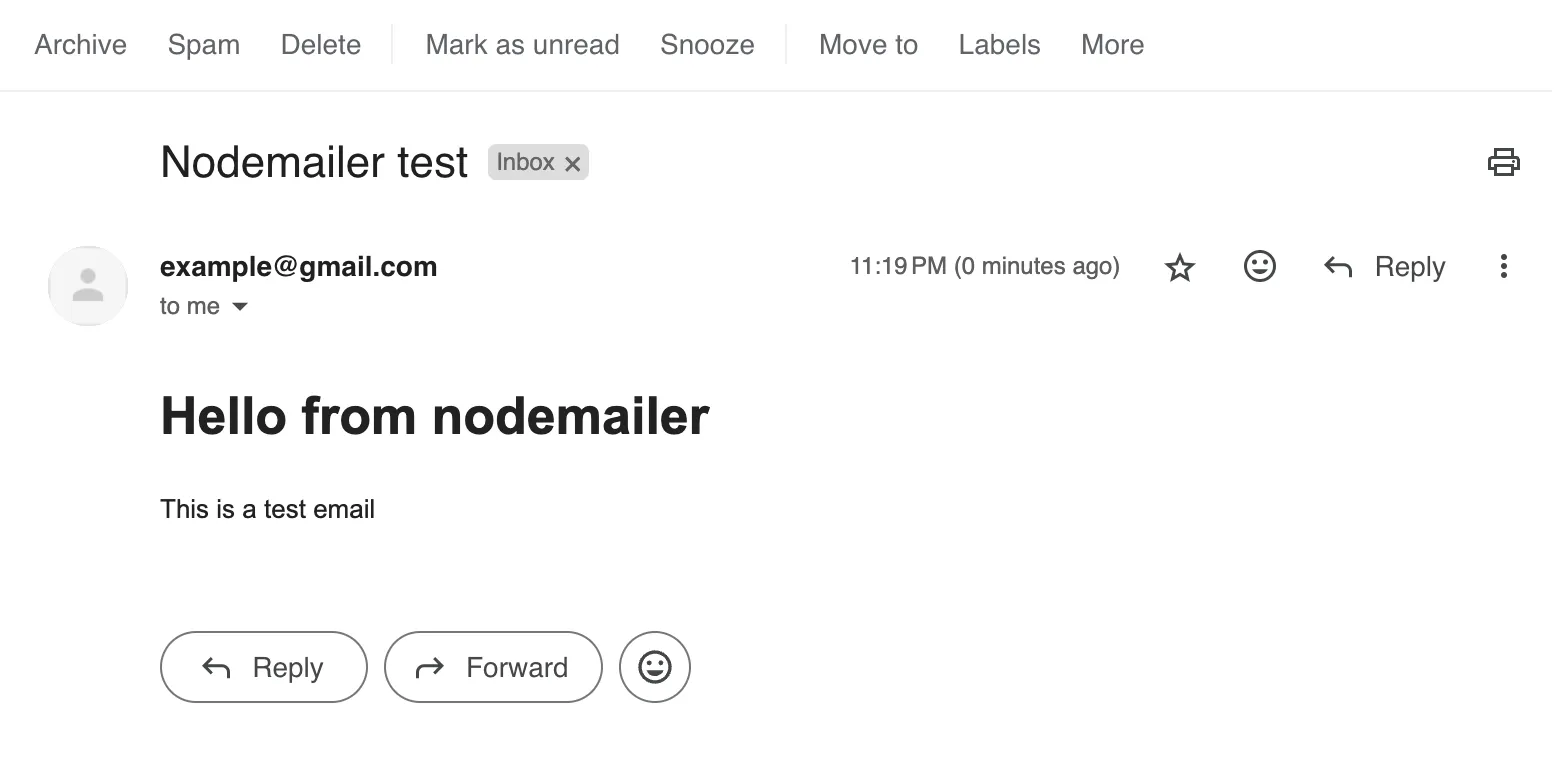
Save the file as nodejs_gmail_example.js and execute it:
node nodejs_gmail_example.js
Now observe the response that is printed in the console. If it contains a response field that includes a response code that starts with 2xx, then your operation was successful. These status codes are similar to HTTP response codes and you can learn more about them here.
The Python example
For our Python example, we’ll use the emails library, which is a high-level SMTP client. Unlike the built-in smtplib, this library doesn’t require you to know the intricate details of SMTP commands and allows you to interact with the server using simple functions, such as send.
Install:
pip install emails
Note: depending on your system, you may need to use pip3 instead of pip.
Unlike with the Nodemailer example, we need to first construct the message. Next, we will invoke the send function with the server parameters and credentials:
import emails

# You need to use your email address, as Gmail doesn't allow sending from anything else
sender_email = '[email protected]'
subject = 'Python test with the emails library'
body = 'Hello from the emails library, this is a test email'

message = emails.html(html=body,
                      subject=subject,
                      mail_from=sender_email)
Then prepare the server connection parameters:
smtp_server = 'smtp.gmail.com'
smtp_port = 587
# Your full Gmail email address
username = '[email protected]'
# The 16 character App password you generated, without spaces
password = 'abcdefghijklmnop'

smtp_options = {
    "host": smtp_server,
    "port": smtp_port,
    "ssl": False,
    "tls": True,
    "user": username,
    "password": password,
}
And finally send the email:
recipient_email = '[email protected]'

try:
    response = message.send(to=recipient_email, smtp=smtp_options)
    if response.success:
        print('Email sent!')
    else:
        print('Failed to send email:', response.error)
except Exception as e:
    print('An error occurred:', e)
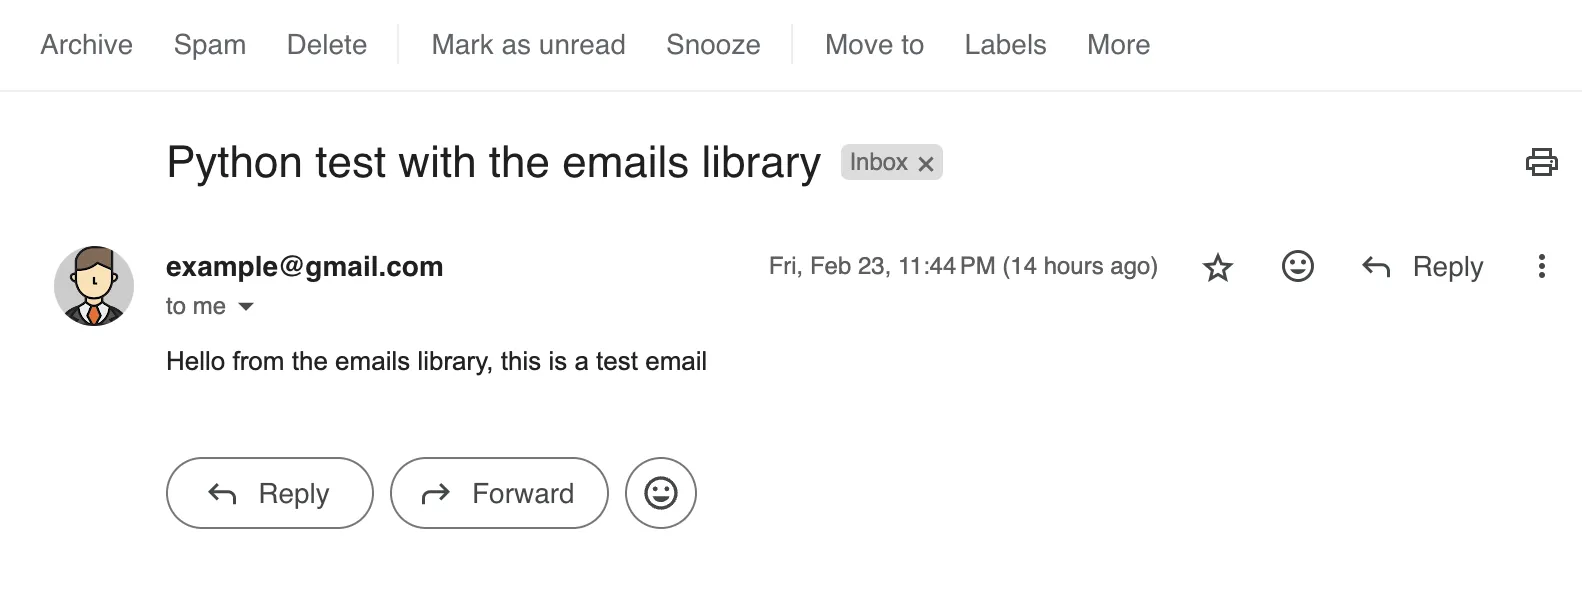
Save your file as python_gmail_example.py and execute it:
python python_gmail_example.py
Email sent!
If you receive the Email sent! message in your console, it worked!
Gmail sending limits and when to upgrade
Gmail works well as a starting point, but it has hard limits that you will eventually hit as your application grows.
Free Gmail caps you at 500 emails per day through the web interface and 100 emails per day via SMTP. For most side projects and early-stage products, this is plenty.
Google Workspace raises the limit to 2,000 emails per day. If you already pay for Workspace for your company email, this is essentially free additional capacity. The ability to send from your own domain also improves deliverability and looks more professional.
What happens when you exceed the limit? Google temporarily suspends your ability to send for up to 24 hours. You can still receive emails and use other Google services, but no outgoing mail will go through. There’s no warning before this happens - your application will simply start getting SMTP errors.
Signs it’s time to move beyond Gmail
- You’re approaching 100 (free) or 2,000 (Workspace) emails per day
- You need delivery tracking - open rates, click rates, bounce handling
- You want to use email templates that you can manage outside your code
- You need retry logic for failed deliveries
- You’re running into Gmail’s per-minute rate limits during traffic spikes
- You need to send from multiple domains or manage multiple senders
When you hit these limits, a dedicated transactional email service gives you higher volume, better observability, and features like automatic retries and template management - without the risk of your company’s Gmail account getting suspended.
Summary and next steps
Gmail and Google Workspace are solid options for getting started with transactional email. The setup takes about 5 minutes: enable 2FA, generate an App Password, and point your SMTP library at smtp.gmail.com. For early-stage applications, personal projects, or low-volume senders, this is often all you need.
As your sending volume grows, consider a service like SendStreak that lets you keep your existing Gmail SMTP credentials while adding templates, delivery tracking, retry logic, and automations on top. SendStreak is a bring-your-own-server solution - you integrate your Gmail or Google Workspace SMTP credentials and get an easy-to-use API and dashboard without migrating away from Google’s infrastructure.
Further reading
To ensure your transactional emails actually reach the inbox, you’ll also want to set up proper email authentication on your sending domain:
- What is SPF? - Authorize your sending servers via DNS.
- What is DKIM? - Sign your messages cryptographically to prove authenticity.
- What is DMARC? - Enforce authentication policies and prevent domain spoofing.
- The anatomy of email headers - Debug delivery issues by reading email metadata.
- SMTP, IMAP, and POP3 explained - Understand how the email protocols work together.