Announcements
Announcements let you send one-off emails to your entire audience or a targeted segment. They’re ideal for system updates, planned outages, pricing changes, or any important communication. While SendStreak isn’t focused on bulk marketing, Announcements are also useful for simple campaigns like promotions, affiliate programs, or retention efforts.
How to Create an Announcement
To get started, visit the Announcements Overview and click Create new. Then follow these steps:
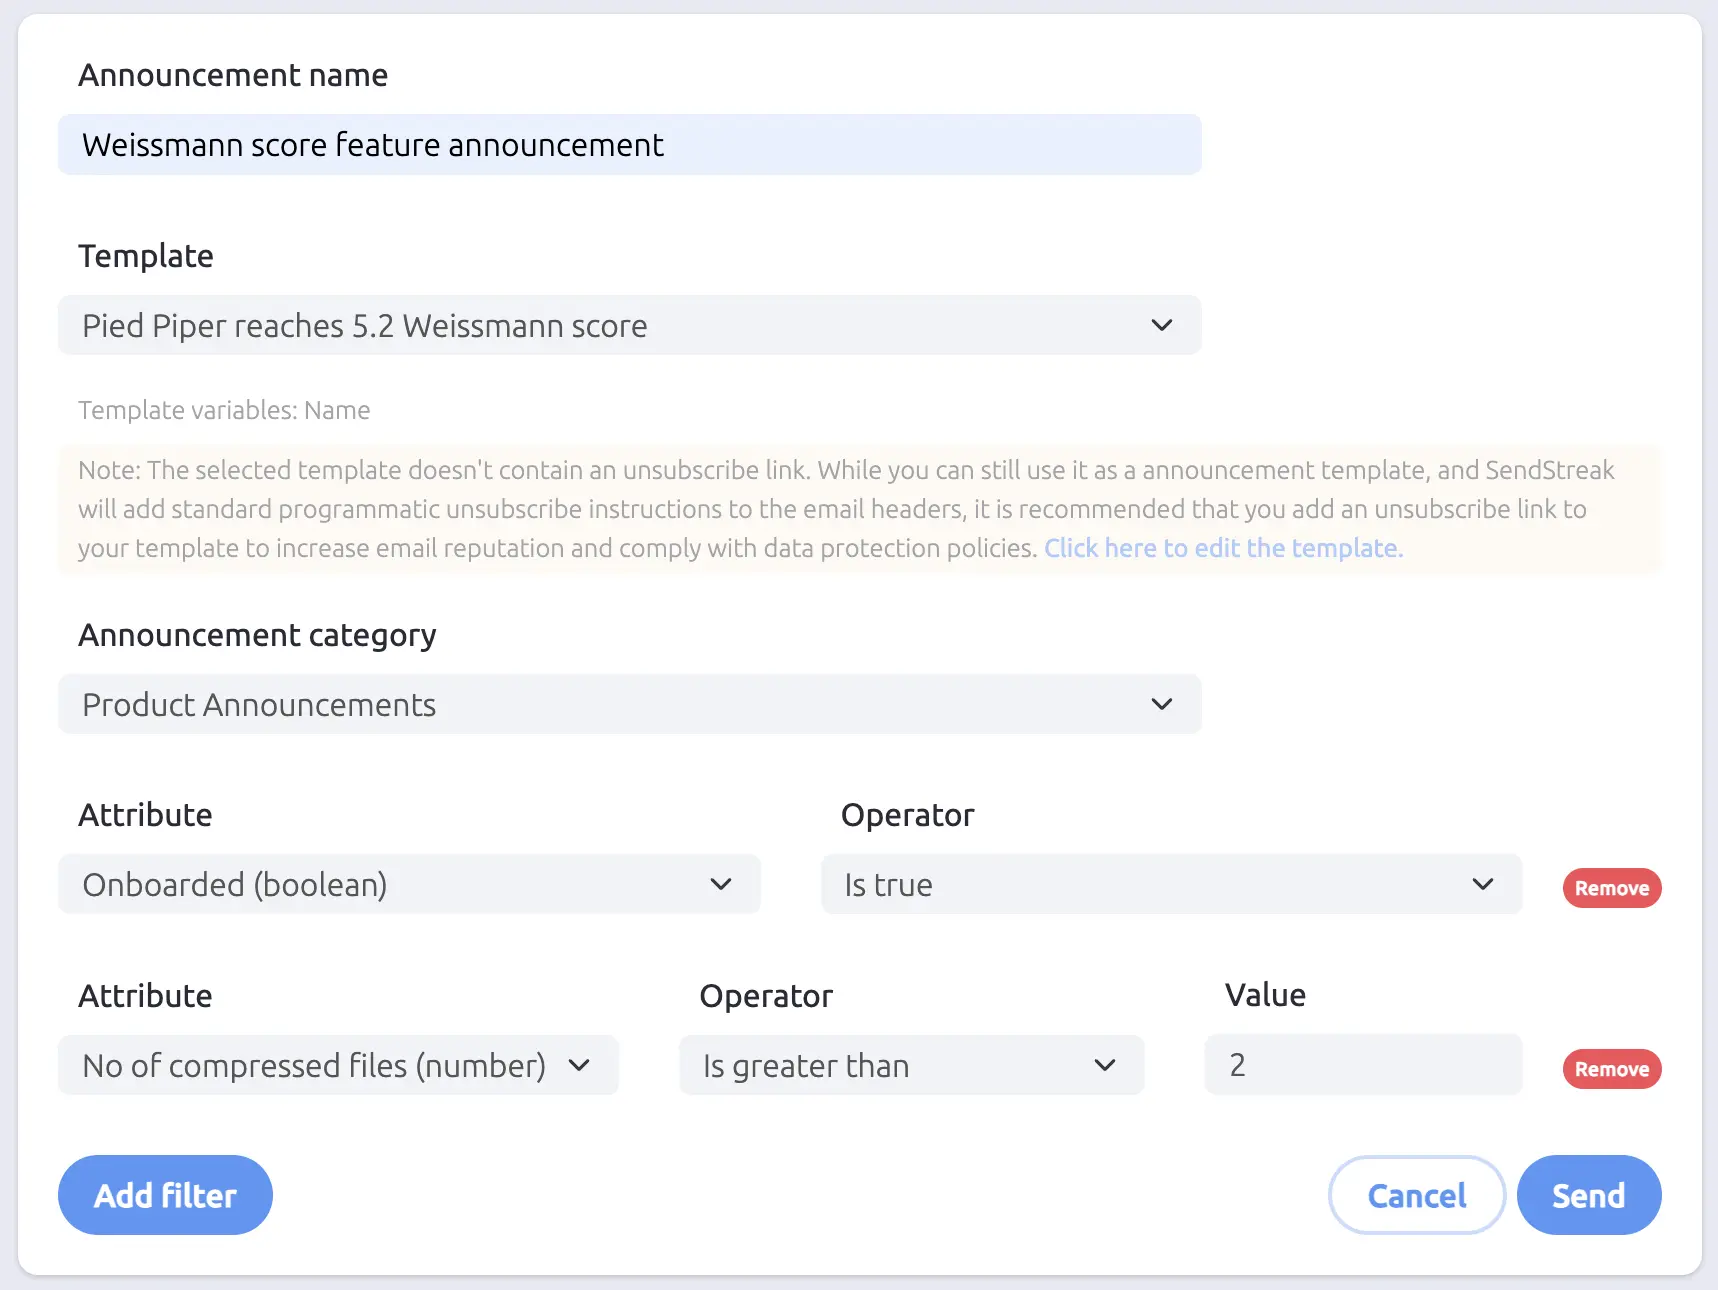
- Name your announcement: Give your announcement a clear name to help identify it later.
- Select an email template: Choose the email template that will be used for this announcement.
Each template can have its own sending domain or server. Announcements will respect that, allowing you to optimize for deliverability, cost, or both. Learn more in our Templates Guide.
Tips:
- When you pick a template, SendStreak displays the required variables - so you can ensure the selected contacts have all necessary data.
- We recommend using fallback values in your templates for variables that may be missing. Read more about them here.
- If the selected template does not contain an
{{ unsubscribe_link }}variable, a warning is displayed. Including an unsubscribe link in your template is recommended for compliance and sender reputation.
- Choose an announcement category (optional): Categories help you manage unsubscribe preferences more precisely. When you assign a category to an announcement, contacts who have unsubscribed from that specific category will be excluded.
If you don’t select a category, only contacts who have fully unsubscribed from all announcements will be excluded.
SendStreak uses a three-layer unsubscribe model:
- A contact can be fully unsubscribed (opted out of all announcements) or unsubscribed from specific topics only.
- When a category is assigned, contacts who unsubscribed from that specific topic are excluded in addition to fully unsubscribed contacts.
- When no category is selected, only fully unsubscribed contacts are excluded - topic-specific unsubscriptions have no effect.
You can create and manage your categories in the Announcement topics settings. You can also review your unsubscribe page there.
- Filter your audience: Click Add filter to define the contact criteria for this announcement. You can create as many filters as needed to fine-tune your target audience.
Filters operate on contact attributes. The available operators depend on the attribute type:
- Boolean: exists, not exists, is true, is false
- Date: exists, not exists, is on day, is not on day, is after, is before
- Number: exists, not exists, equal to, not equal to, greater than, greater than or equal to, less than, less than or equal to
- String: exists, not exists, equal to, not equal to, contains, does not contain
Multiple filters are combined with AND logic - all conditions must be met for a contact to be included.
Previewing Your Audience
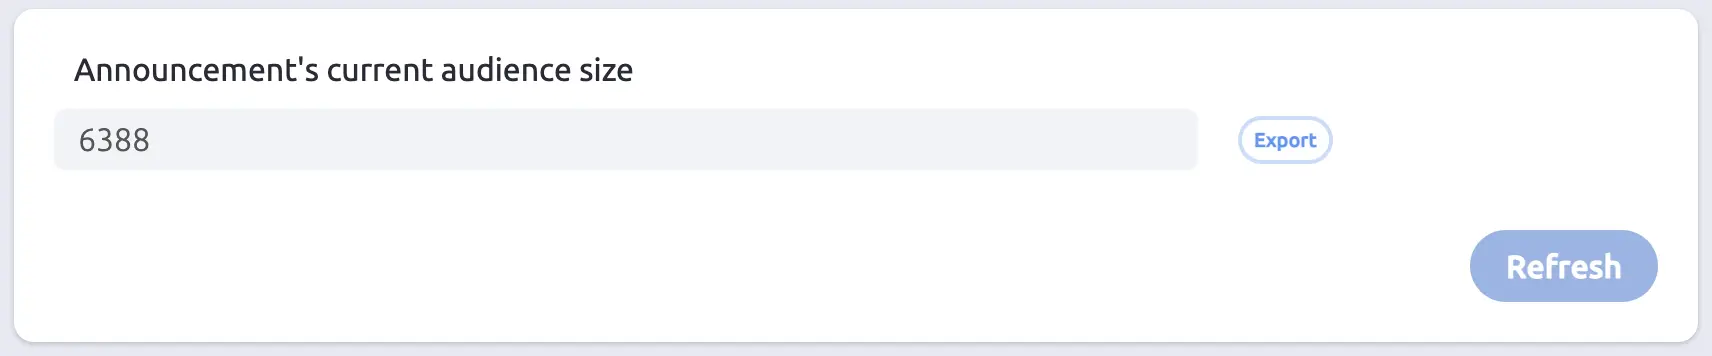
In the Current Audience Size section, you’ll see exactly how many and which contacts will receive the announcement.
- Click Refresh to recalculate the segment size.
- Click Export to download a CSV with full contact details and variable values used in your chosen template.
This gives you full transparency and control - both from a messaging and cost perspective.
The Danger Zone
The Danger Zone allows you to override unsubscribe preferences (globally or by category) for critical messages like security alerts or scheduled maintenance.
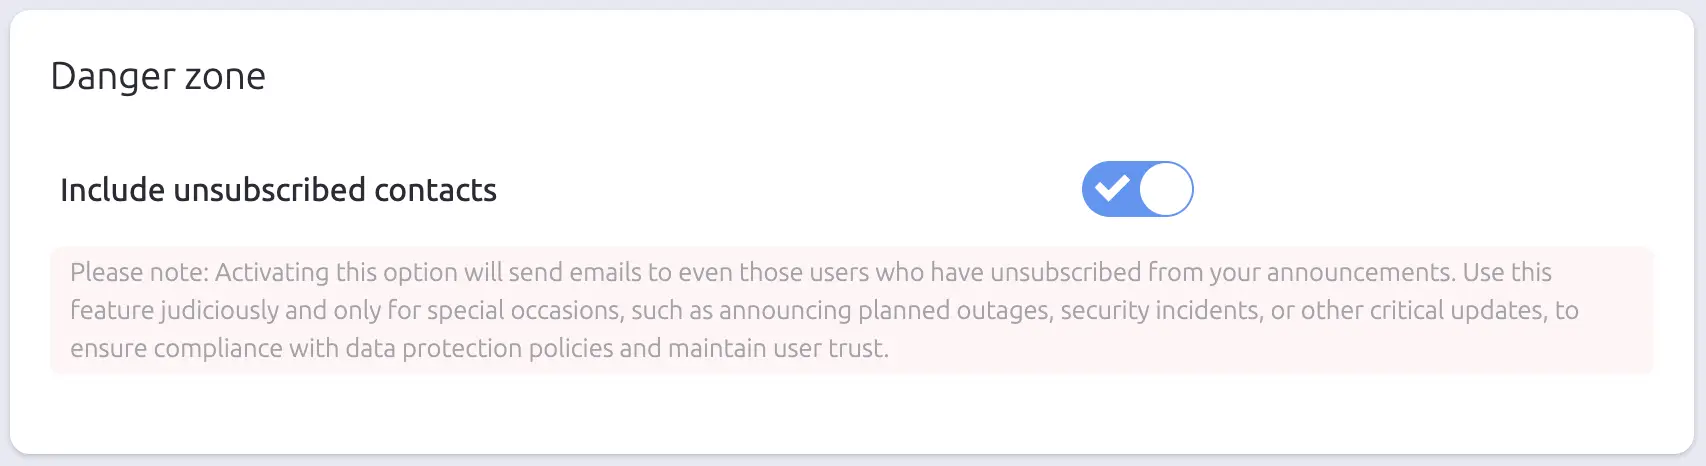
Remember: With great power comes great responsibility.
Sending & Tracking
Once everything is set up, click Send to launch your announcement. A confirmation dialog will ask you to verify before proceeding. Emails are sent in batches, so larger audiences may take longer.
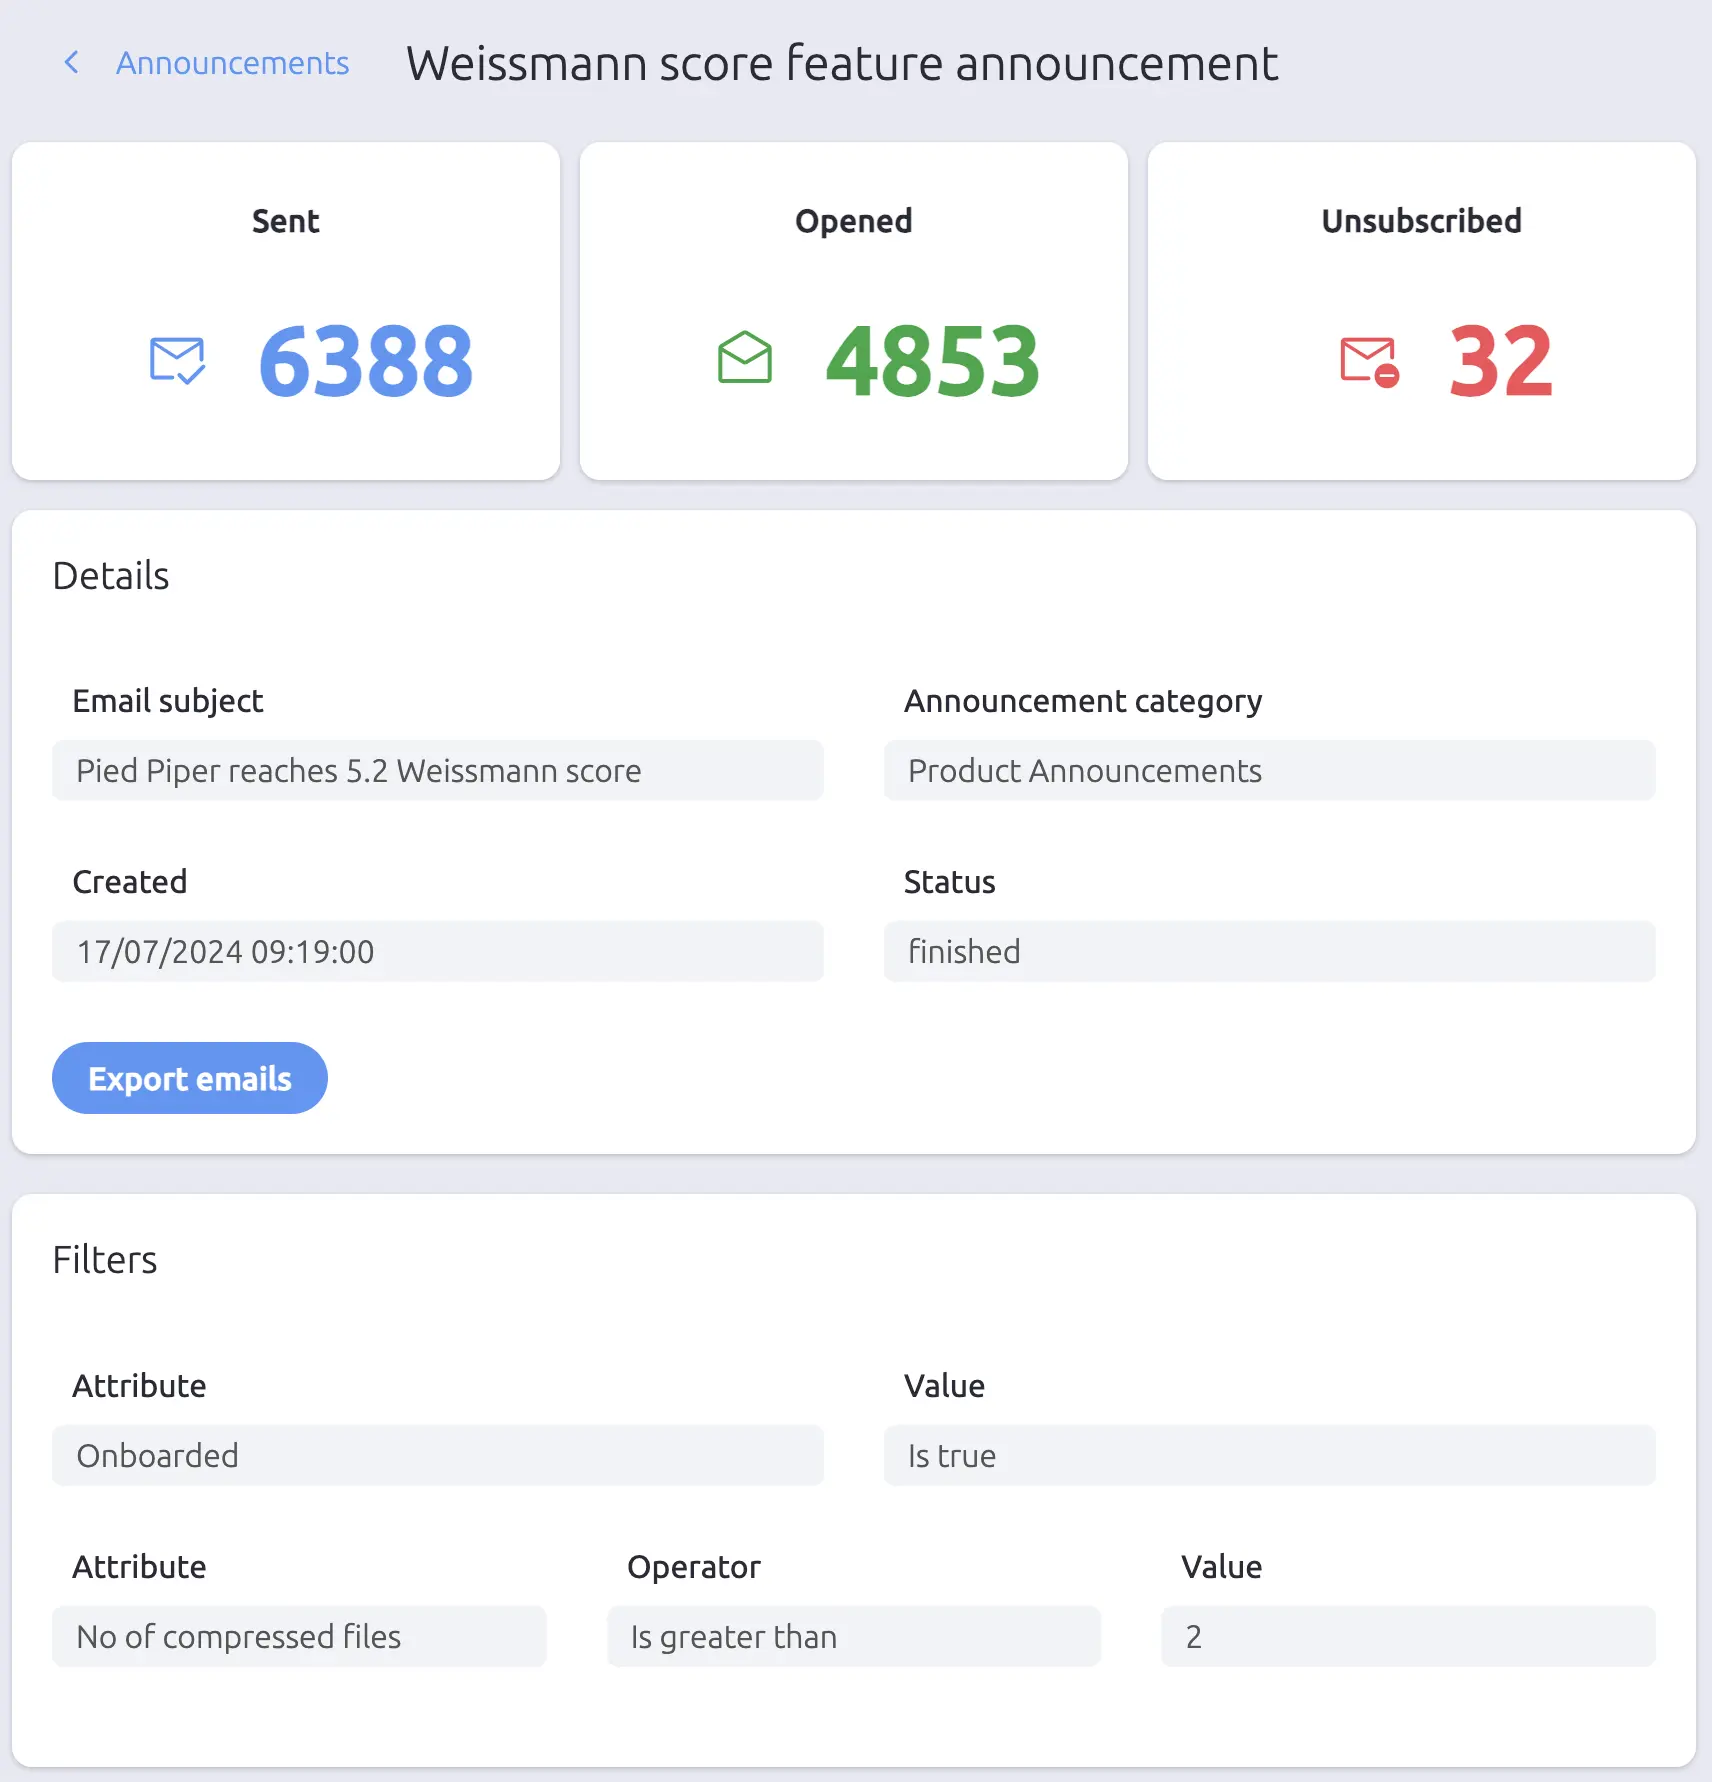
After sending, you’ll be redirected to the Announcement Status screen. The status screen shows three tracking widgets:
- Sent - total emails queued for delivery
- Opened - contacts who opened the email
- Unsubscribed - contacts who unsubscribed after receiving the email
The announcement status is displayed as Running or Finished, with a reload button available while processing is in progress. Use the Export emails button to download a CSV of all messages including recipient, date, subject, content, and status.
You can return to this screen anytime by selecting the announcement from the overview list.
Try SendStreak for Free now!