Workspaces
SendStreak supports multiple workspaces, allowing you to separate different projects, teams, or environments (such as production and staging) under a single user account.
Each workspace is fully independent - it has its own contacts, templates, automations, email servers, team members, API key, and billing.
Creating a New Workspace
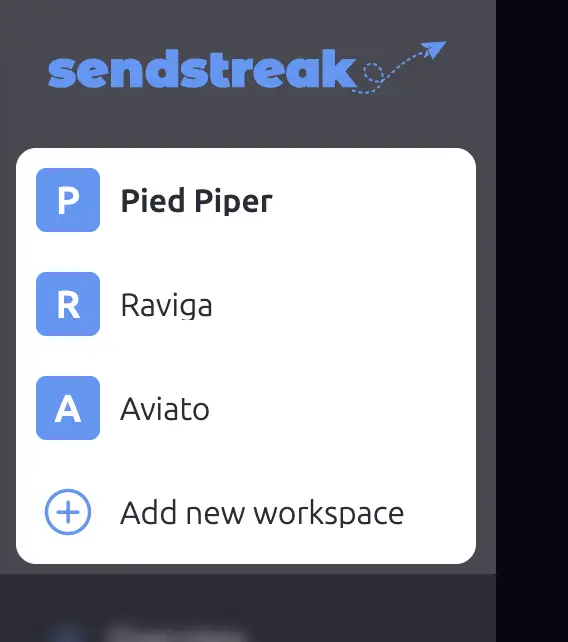
To create a new workspace, click on your workspace name in the sidebar to open the workspace selector, then click Add new workspace.
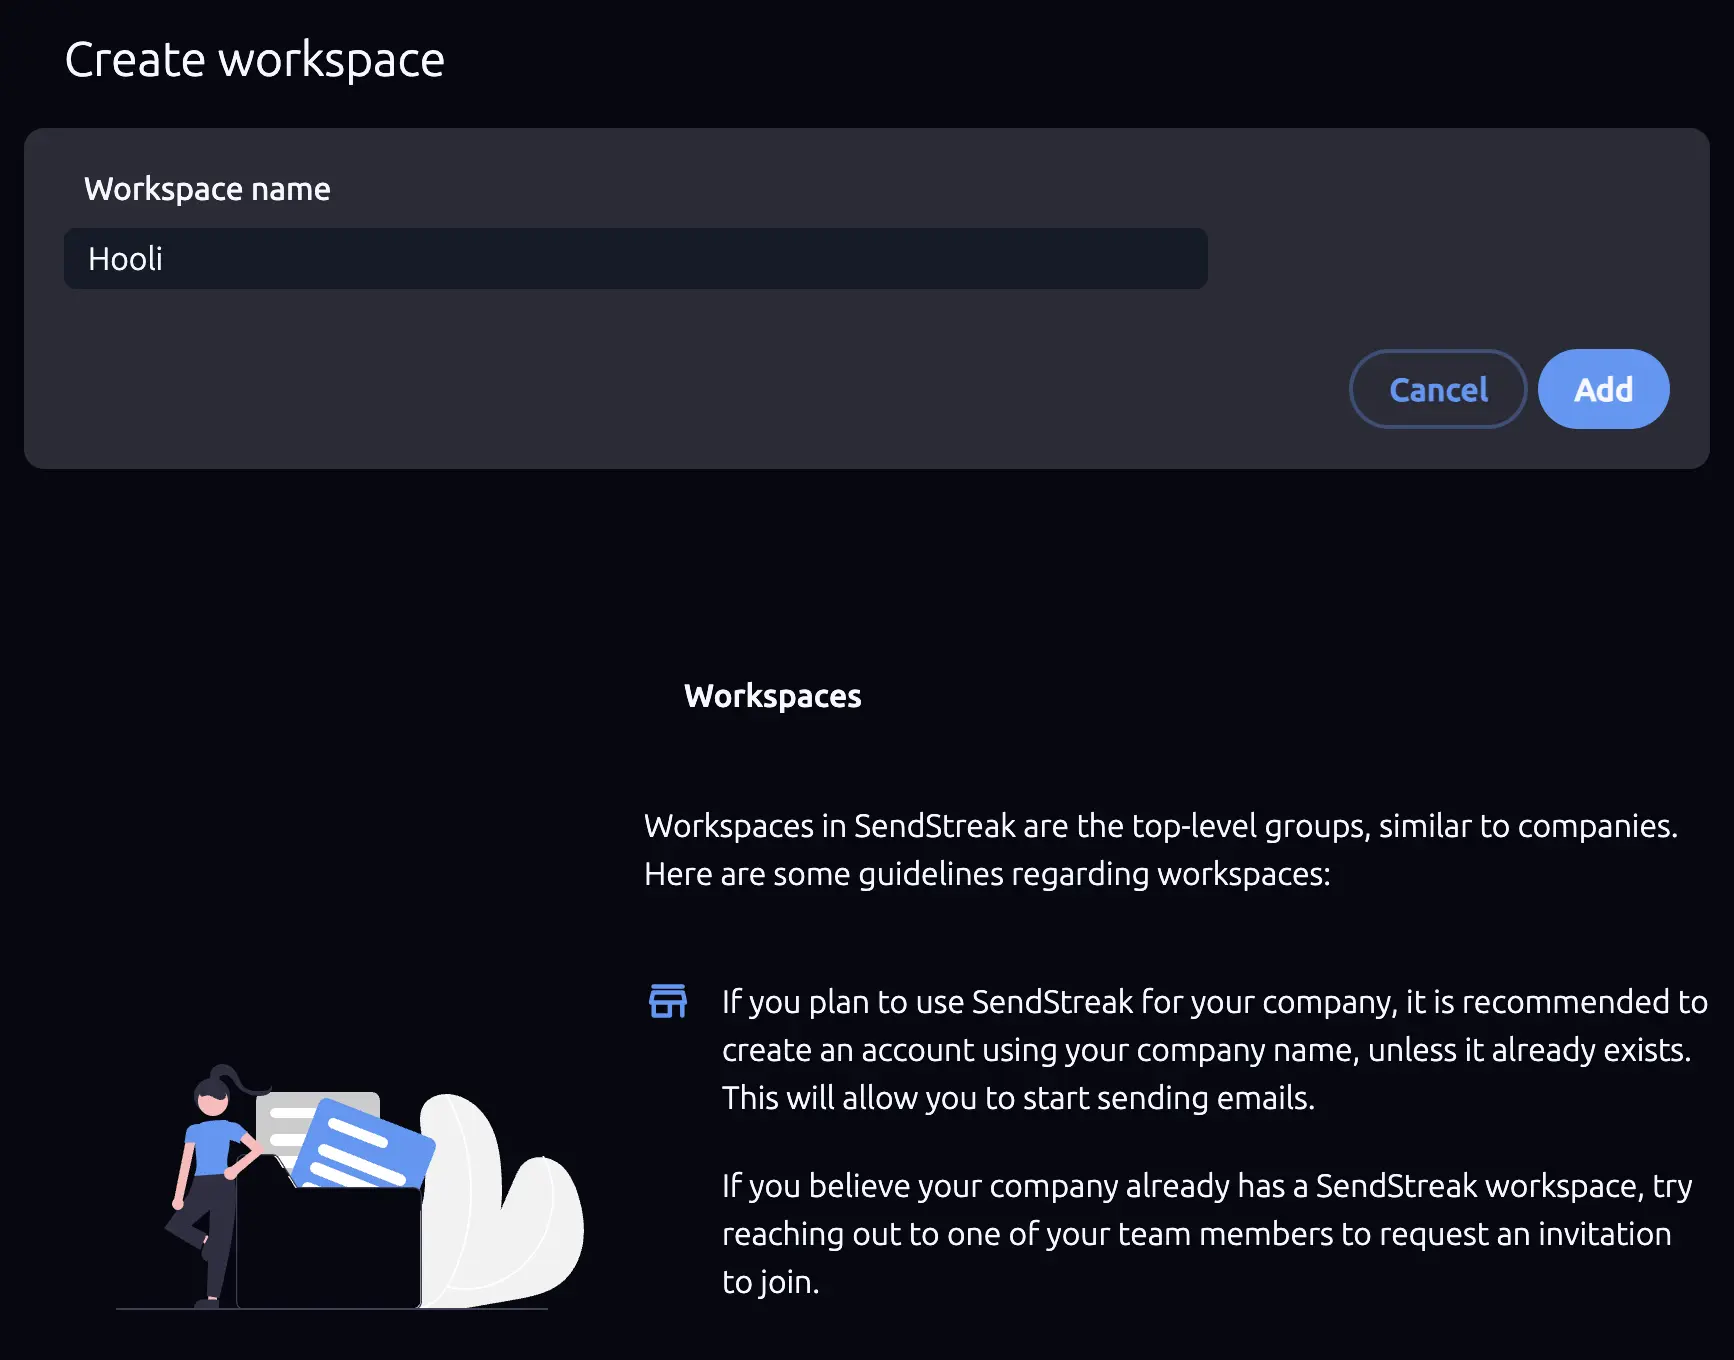
You’ll be asked to provide a name for the new workspace (minimum 6 characters). A few guidelines:
- store Use your company name for company workspaces.
- person Use your personal name for personal projects.
- payments Billing is per workspace, not per user. Each workspace has its own subscription.
Switching Workspaces
Click your workspace name in the sidebar to open the workspace selector. All your workspaces are listed here. Click any workspace to switch to it.
When you switch workspaces, SendStreak reloads the dashboard with the selected workspace’s data. You’ll be redirected to the Account overview screen.
Workspace Settings
Once inside a workspace, you can rename it from Settings → Account details.
Try SendStreak for Free now!